Dirt, dust and other contaminants are the enemies of high-speed data transmission over optical fiber, as even the most minor of scratches or defects can present problems further down the line.
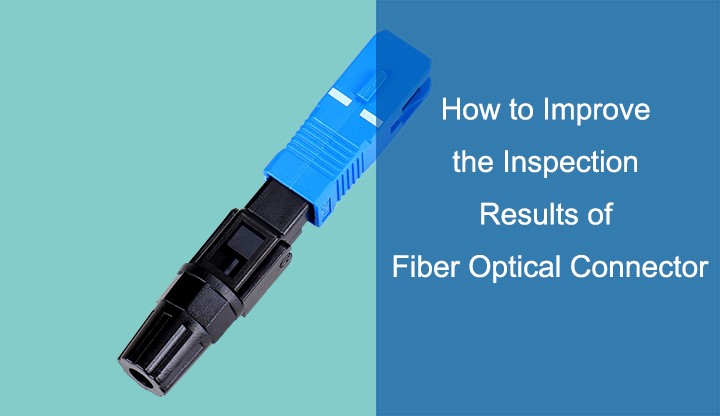
Optical fiber connectors are used to join optical fibers wherever a connect/disconnect ability is required.
Connectors are most commonly comprised of a spring-loaded ceramic ferrule, which aligns two mating connectors in a circuit. However, before they can be used in FTTx applications, the connector ferrules first need to be polished to achieve the required angle and end-face geometry.
Applying the right polishing process, or ‘recipe,’ ensures the connector end-faces are free of defects or scratches. While this process is generally managed within a manufacturing facility, there are occasions where assembly and polishing operations need to be undertaken in the field.
In this blog post we explore how connector cleanliness, and the appropriate inspection environment, can impact on your microscope and interferometry readings and suggest the key steps to overcome poor measurement results.
Microscope Inspection
Most operators will demand connector performance in line with the IEC (International Electrotechnical Commission) standard - the technical authority on connector performance that provides tables of parameters for defects and scratches on the connector interface.
Adhering to these strict guidelines ensures connectors meet quality standards in the field, which will have a direct impact on optical signal performance and on the efficiency of the entire network.
The fiber core zone, for example, is especially important as it’s where the light is transmitted and is very sensitive to contaminants.
If your connector passes the microscope inspection, but still has more scratches than you feel comfortable with, a good option is to run through the polishing process again. Having just a few scratches or defects can cause problems further down the line, and even previously acceptable scratches can fail over time, so it’s vital these are identified from the outset.
You might choose to repeat the entire ‘recipe’, or perhaps just the last two or three steps to re-finish. It’s also worth checking to see if your fiber optic sensor (FOS) has reached the end of its life, as this can directly impact your inspection results.
Cleaning of fiber connectors
While there are a broad range of connector cleaning products on the market, it’s always advisable to use the minimum materials necessary. Your microscope inspection results will be your best guide as to what level of cleaning is required.
Depending on how dirty the connector end-face is, sometimes a simple wipe with a lint-free towel is all that’s needed.
In other circumstances, it’s better to use a click-cleaner, which will remove dust and oil from fiber end-faces without the use of alcohol.
Connectors should always be clean and dry before inserting into sensitive test and measurement equipment.
Another way to clean a connector is using a can of air duster. When using an air duster, it's important to give the trigger a quick squeeze to expel any contaminants that may have settled between uses.
You can remove any moisture during the aerosol process by inverting the can. Many professional termination laboratories have a dry compressed air setup in place of aerosol cans which is extremely useful for high-termination volumes.
Interferometry Inspection
Once you’ve checked your connector end-face for scratches or defects, the next step is to use an interferometer to ensure the geometry you’ve polished onto the connector meets required standards.
The key error is the angle (measured in degrees) that represents the amount of rotational play possible between the key on top of the connector and the orientation of the ceramic ferrule.
If it’s too high it means the angle will not square up properly to a mated connector, which can cause an air-gap between the two.
There are two things to bear in mind with key error. First, over time and after many thousands of inspections, you’re likely to wear down the key slot in the adaptor socket, which can allow for more rotational play. You may find the fix for this issue is to have a protocol in place for inspecting adaptor sockets, either with a master connector or artefact.
The second thing is cables can have stiff or rugged outer jackets, which will apply torsional force onto the connector as it’s plugged into the interferometer. This can result in an error.
To address this issue, it’s advisable to orient the connector at the start of the procedure so the key on the top follows the curve of the cable. You may also find it helpful to unwind a few meters of cable and allow it to relax, which will remove the need to wrestle with it in the interferometer.
The Test Environment
If you are consistently getting negative results from your polished connectors, it may worth considering the inspection environment.
The interferometer is a precision measuring tool that requires a stable lab environment to perform optimally.
In some cases, for example, the interferometer may be affected by outside vibration, in which case an anti-vibration rubber mat can be used to minimize the effects.
When inspecting the ferrule for scratches, defects and end-face geometry, connector cleanliness is crucial. And it can quickly change the outcome from fail to pass.
Taking time to experiment with different recipes, polishing films and cleaning products will be invaluable in helping you to fine-tune your process, reduce the time taken and increase consistency.
It’s also well advised to get to know your equipment, as it will help you to better understand the relationships between the different inspection parameters.
And if your inspection results remain inconsistent, it’s important to contact the manufacturer of your equipment for their advice.
